May the bridges I have burned light my way back home.

STAMP GUIDE

how to make your own stamps! this guide assumes you have a generic "aesthetic" image that you want to stamp-ify, though you could easily use this guide to make any kind of stamp you want! right now this is only inclusive of still, .png stamps. i'll figure out the .gif ones eventually lol.

.PNG STAMPS!

things you will need:
  • image of your choosing! break out your pinterest aesthetics boards :3
  • stamp frame of choice! i'll put the basic one i use on this page but there are plenty out there!
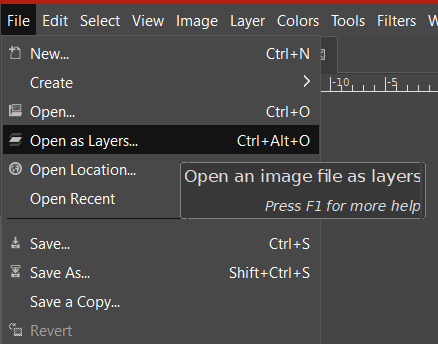
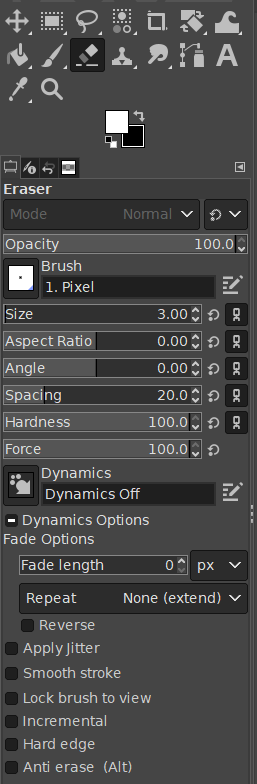
  • GIMP is the program I use in this guide (you can find the link on my sources page!), but you could probably use any
step one: open your stamp frame as a layer. go to file > open as layer > and then find your stamp frame! then, do the same for your aesthetic image. Make sure that you do the frame first, or your canvas size will be fucky.
step two: make sure you have the aesthetic image selected and right click on it in the layers panel on the right, then click "scale layer...". make sure the chain on the side is connected (this maintains the aspect ratio), then change the top value to around 100ish pixels. Then click 'scale' to scale it down!
step three: when you opened the aesthetic image, it probably put that layer on top of the stamp frame. put the stamp frame back on top of the aesthetic image by dragging it on top in the layers panel. You can also use the move tool on the left to move the image around to get your favorite part in the frame if you're using a particularly wide/long image. When you're all satisfied, right click the aesthetic layer and select "Add Alpha Channel". this makes sure that when you start erasing the edges, there's nothing underneath.
step four: erase the edges! i make my eraser settings look like this (see right) but you can do whatever works for you! just make sure your brush is small enough that it doesn't erase part of the image within the frame. erase everything outside of the frame, but keep the inside intact. make sure you have the aesthetic layer selected so you aren't erasing the actual frame.
step five: save! once you're done, go to file > "export as..." . in the next screen, you can change the file name and where it is stored. then, hit export! quite frankly i have no fucking clue what the screen after that does but i do not touch anything in it and just hit export again. then bam! your stamp is saved! you have made a stamp!

my nine to five is cutting open old scars